
PUTTING FUNDAMENTALS · 11 min read
Disc Golf Putting Fundamentals: Stance, Grip and Circle 1 vs. Circle 2
Build a repeatable putt from the ground up: understand the lie, stay balanced, choose a comfortable grip and use spin, push or a hybrid motion without rebuilding your form at every distance.
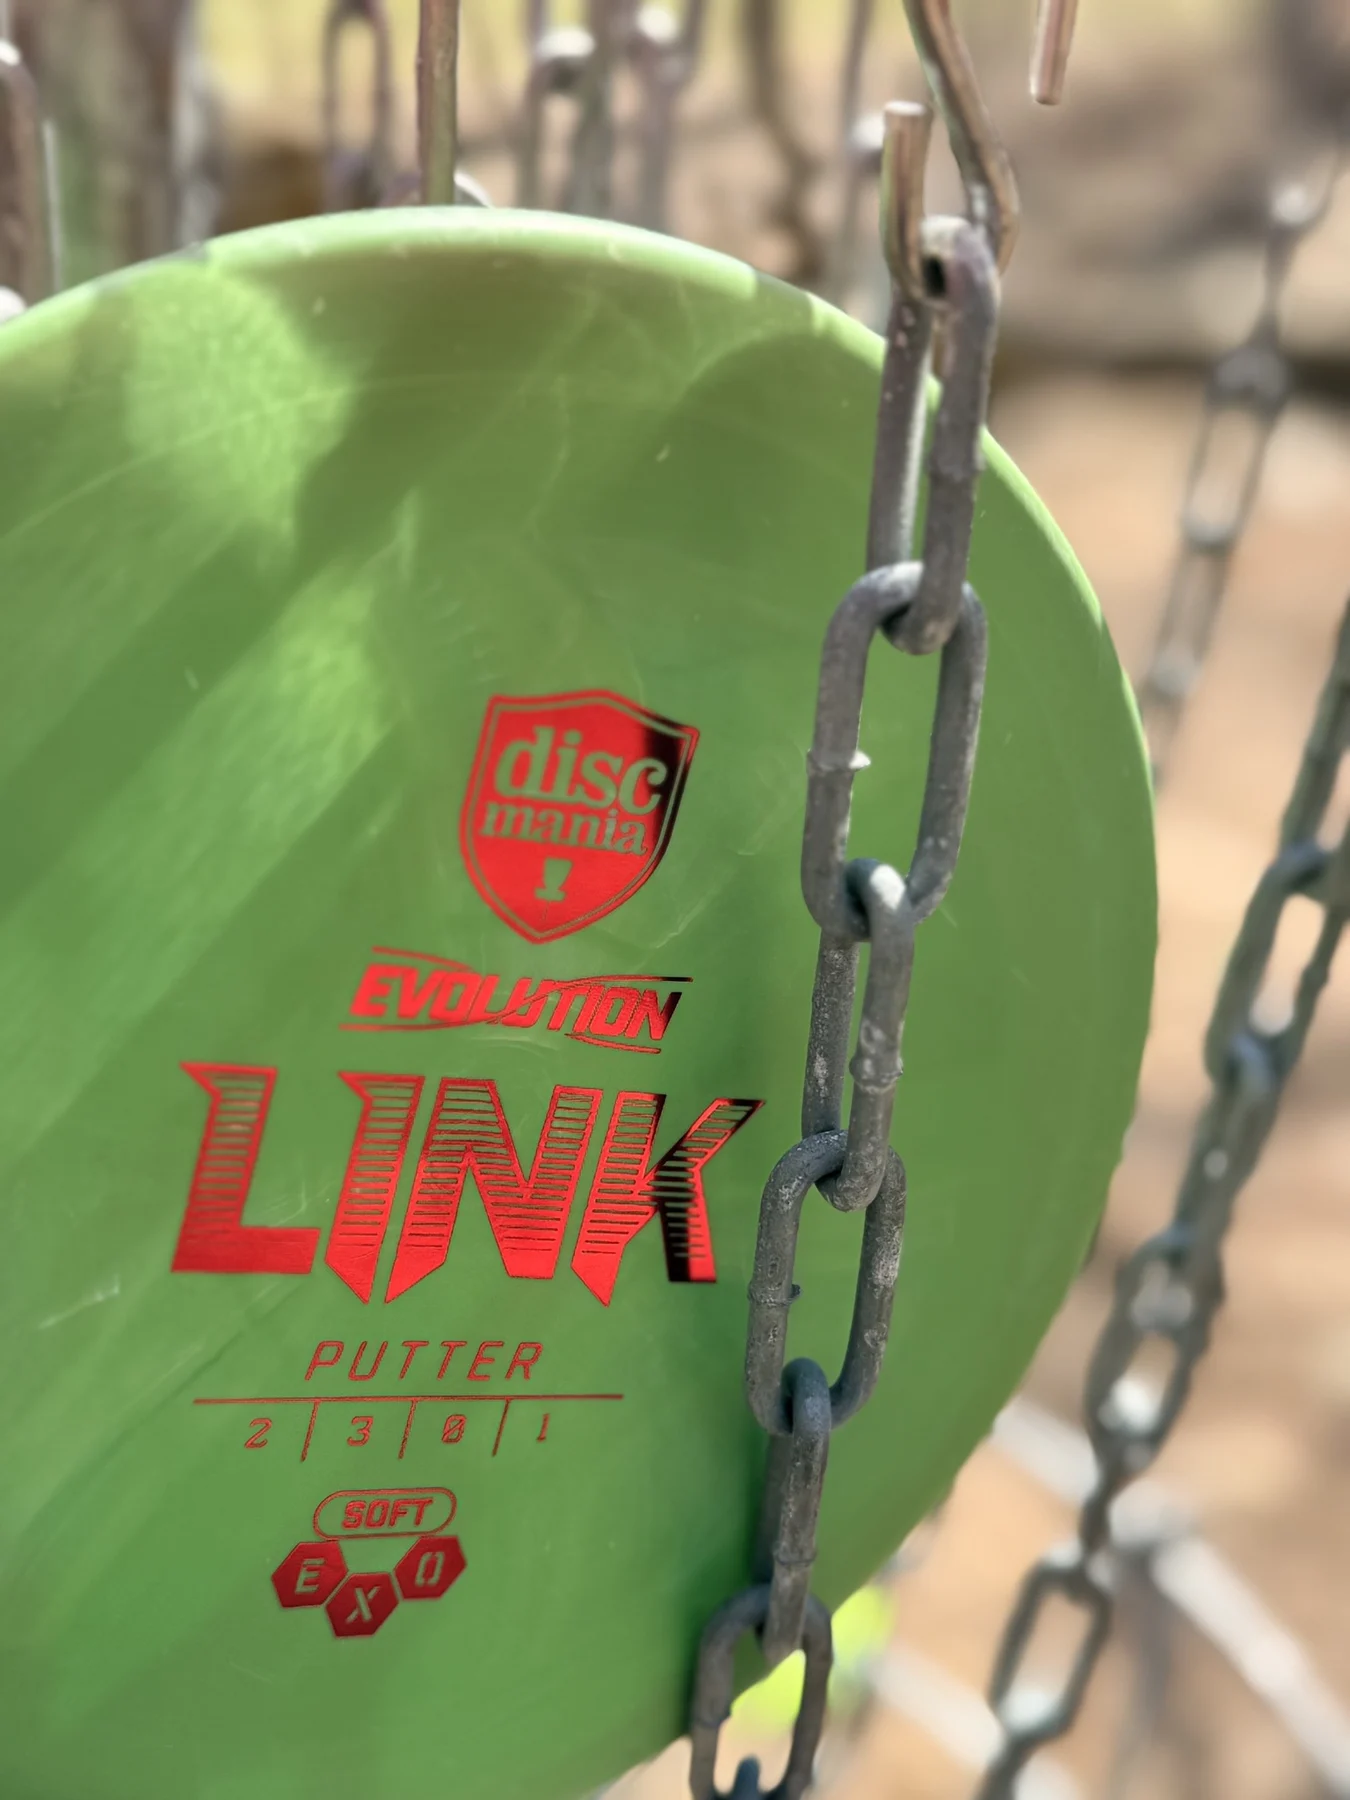
Putting starts before the disc moves
Good putting is usually described as a motion, but consistency begins earlier. The player must identify the lie, choose a legal stance, settle the feet, select an aim point and decide how firmly the disc needs to arrive. When those choices are stable, the arm has less work to improvise.
There is no single stance or release that fits every body. Height, mobility, hand size, comfort and preferred flight all matter.
The goal is not to copy one professional frame for frame. It is to build a motion that begins from the same balanced position and finishes on the intended line.
This guide explains the pieces that make a putt work. Once those pieces feel familiar, use the separate 15-minute putting routine in the related reading section to train them under repetition.

Know the lie before setting your feet
Under the current PDGA stance rule, a player releasing from a marked lie must have at least one supporting point in contact with the lie, no supporting point closer to the target than the rear edge of the marker disc, and all supporting points in bounds.
In practical terms, establish the legal plant point first and then build the rest of the stance around it.
The PDGA defines a putt as a throw made from within 10 meters of the target, measured from the front of the lie to the base of the target. After releasing from that area, the player must demonstrate full control of balance behind the marker before moving toward the basket.
A clear pause, replacing the rear foot behind the lie or retrieving the marker only after control is established removes doubt.
A made putt must be released and come to rest supported by the tray or the chains below the chain support. A disc resting on top of the chain support does not complete the hole.
Set the legal contact point — Place the plant foot or another supporting point on the lie before arranging the rest of the body.
Keep every support in bounds — A hand, knee, cane or other supporting point counts when it is supporting the player.
Show the finish — Inside 10 meters, stop the body's forward movement behind the lie before advancing.

Circle 1 and Circle 2 are not two sets of putting rules
Circle 1 is the official 10-meter putting area. That is the zone where the balance requirement applies after release. The front of the lie determines whether the throw is inside the putting area, not where the player's body or the disc happens to finish.
Circle 2 usually means the area from 10 to 20 meters, or roughly 33 to 66 feet. It is useful for statistics and practice planning, but it is not a separate PDGA stance-rule zone.
Outside 10 meters, a player may legally step or jump past the lie after the disc has been released, provided the stance was legal at the moment of release.
That permission is not a requirement. A controlled standstill can remain the best choice from Circle 2, especially on a slope, near out-of-bounds or when a long miss creates a difficult comeback.
| Area | Common distance | What changes | What stays the same |
|---|---|---|---|
| Circle 1 | Inside 10 m / about 33 ft | Demonstrate balance behind the lie after release | Legal contact with the lie, aim and a complete release |
| Circle 2 | Usually 10–20 m / about 33–66 ft | A step or jump after release can be legal | The stance must still be legal at release |
| Beyond Circle 2 | Outside 20 m | More power and height may be needed | Control and the next putt still matter |
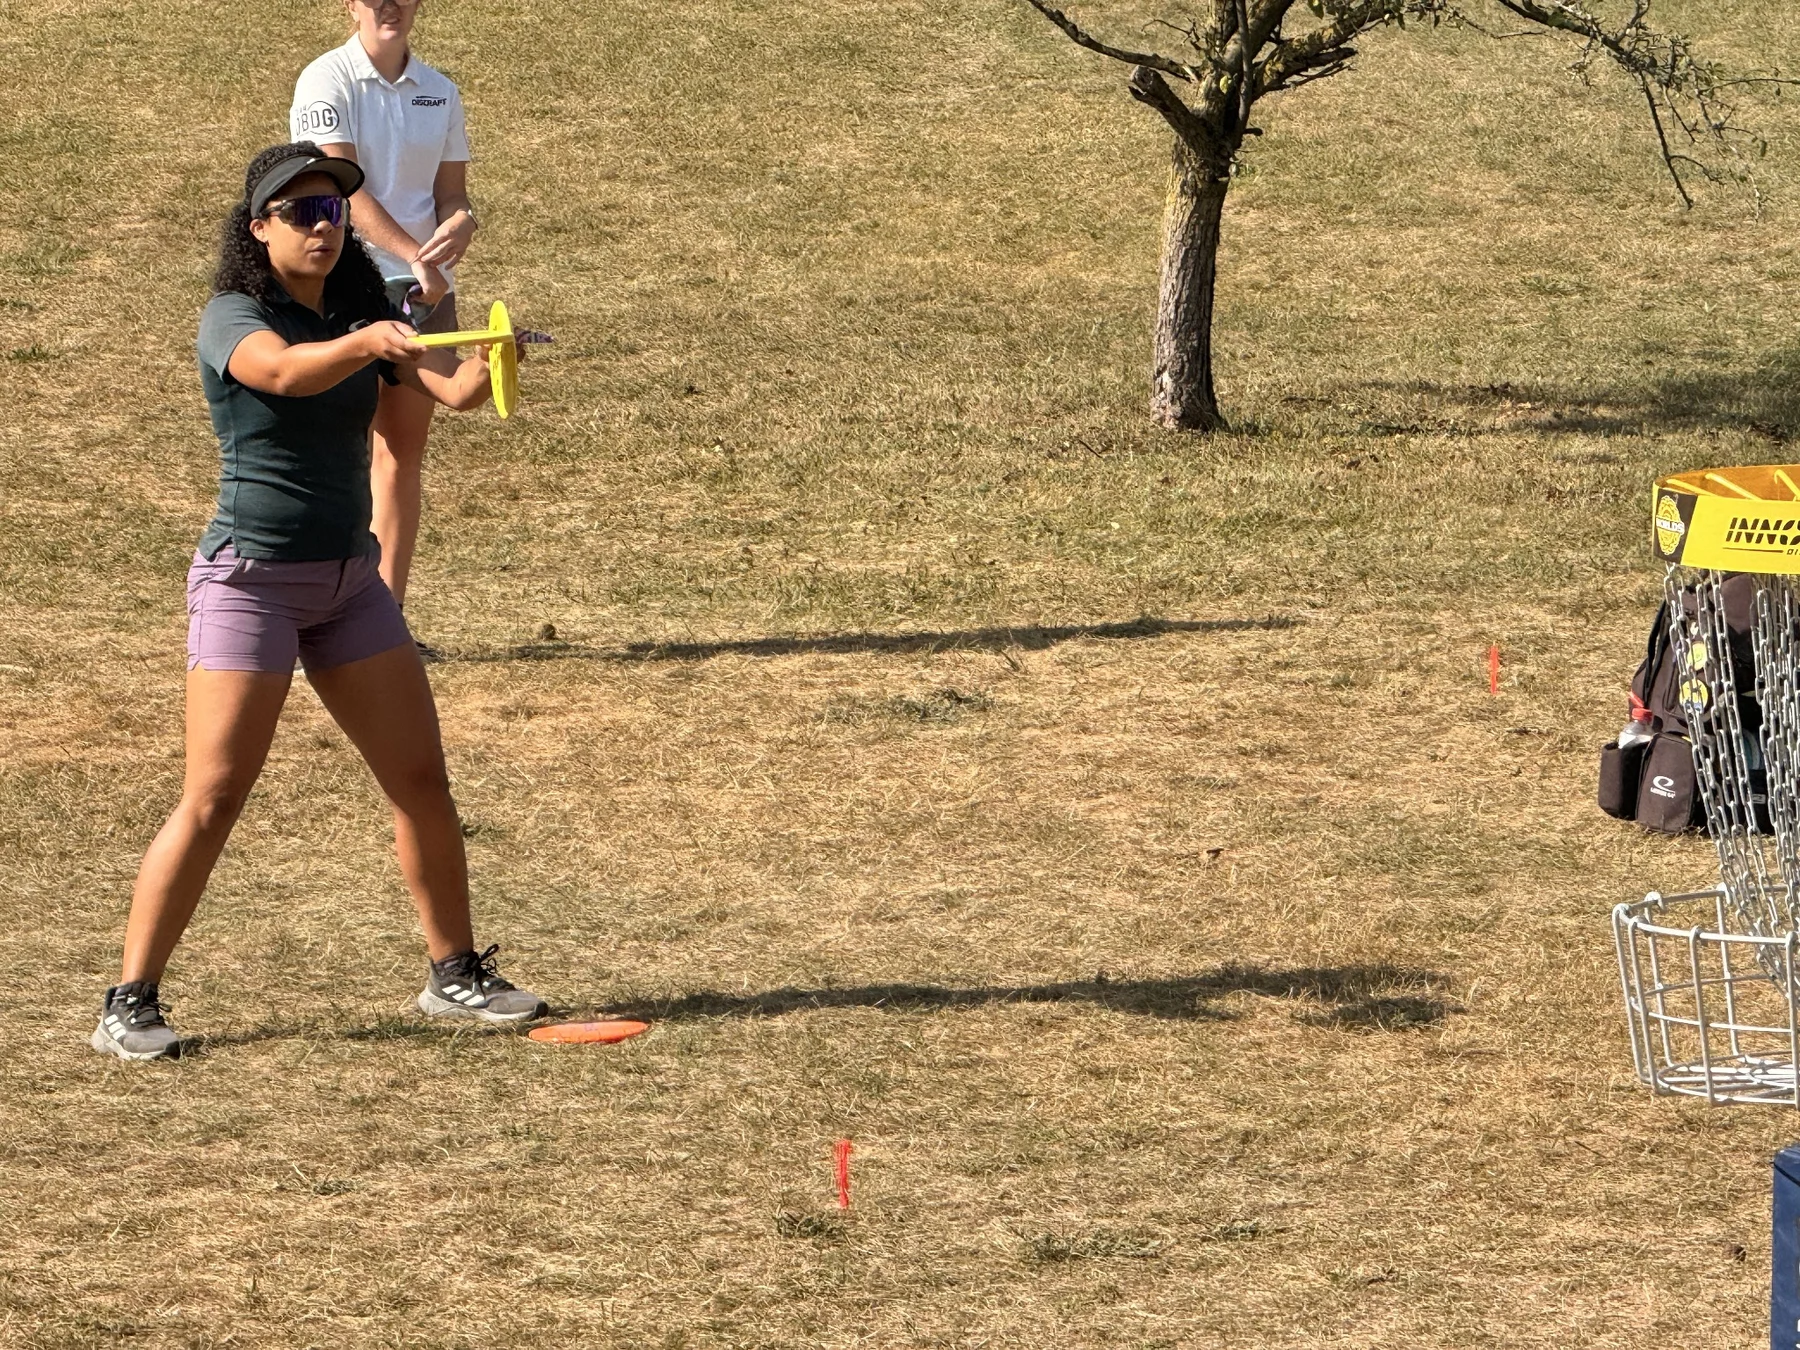
BALANCE AT COMPETITION SPEED
Build a grip that is secure, clean and repeatable
A putting grip needs enough pressure to control the disc without making the wrist and forearm rigid. Place the thumb comfortably on the flight plate, support the underside with the fingers and let the index finger settle where it releases cleanly.
Some players wrap the index finger under the rim; others place it along the rim. Either can work when the disc leaves without wobble or snagging.
Grip pressure should be firmest through the thumb and the finger or fingers opposing it. The other fingers support the disc rather than squeeze it flat.
If the hand tightens early, the wrist may stop moving freely. If the grip is too loose, the release point and nose angle can change from putt to putt.
Use the same grip-building sequence every time: seat the disc, place the thumb, set the fingers, confirm the angle and then look fully at the target. A simple sequence prevents small changes from appearing only because the previous putt missed.

Choose a stance that lets the body move on line
A staggered stance places one foot closer to the lie and allows a natural forward-and-back weight shift. A straddle stance places the feet more evenly across the target line and can create a direct up-and-down motion, useful behind obstacles or on awkward terrain. Both are effective when the knees remain athletic and the body finishes under control.
Start with the feet at a width that feels stable rather than wide for its own sake. Keep the head quiet, let the knees and hips supply smooth motion and avoid leaning so far toward the target that balance depends on the disc leaving the hand.
The release should happen because the body and arm reach the target line together, not because the player lunges.
After release, hold the finish for a beat. The hand should point along the intended line, the shoulders should remain organized and the body should be able to stop without a recovery step inside Circle 1. The held finish is both a rules habit and a diagnostic tool.
BUILD THE MOTION FROM THE GROUND UP


Spin, push and hybrid putting
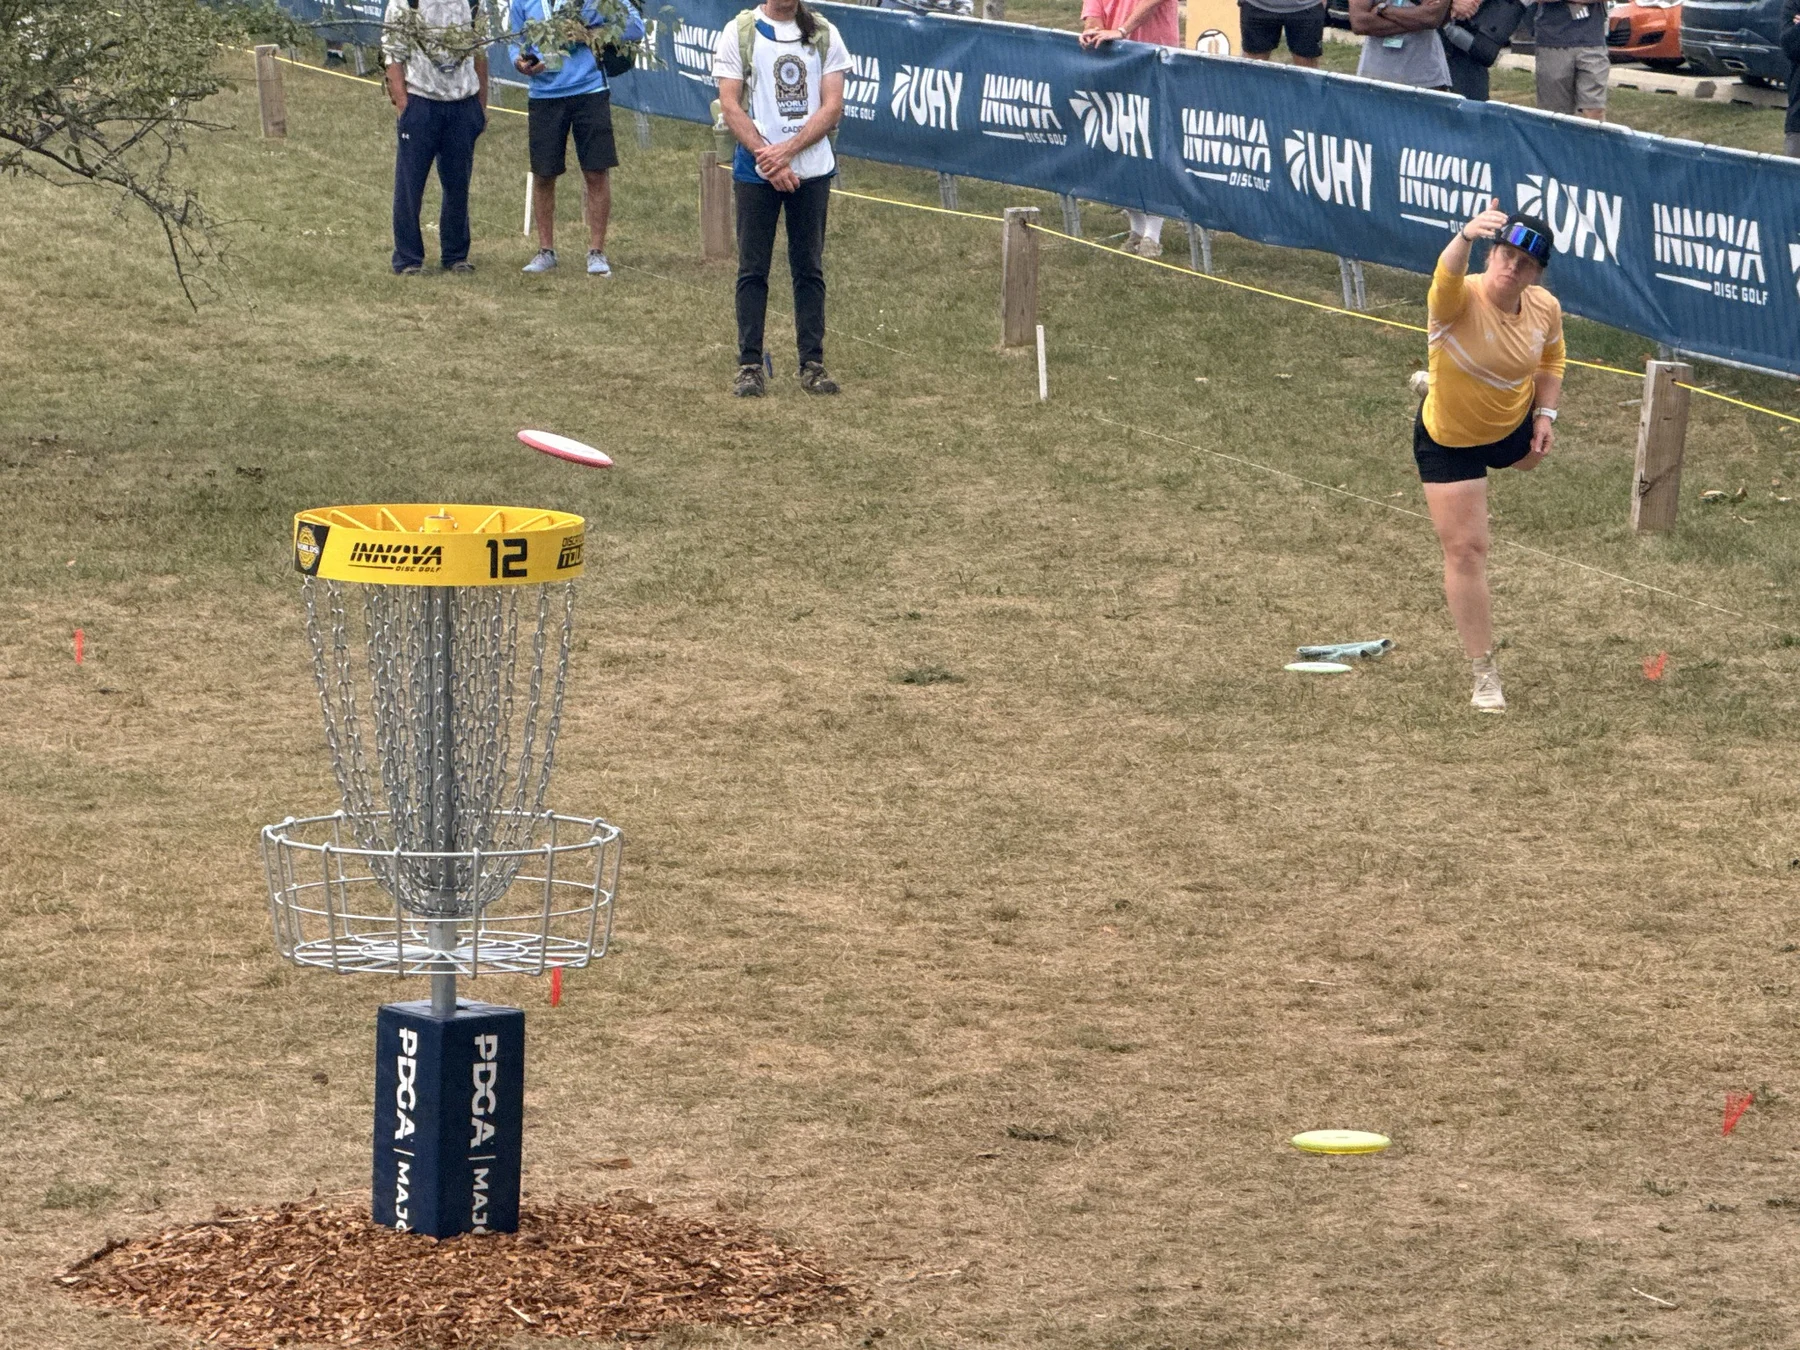
A spin putt uses more wrist and forearm rotation to create pace and rotation. It can hold a direct line, resist dropping early and extend comfortably toward Circle 2. The tradeoff is that a high-speed miss may travel farther past the basket.
A push putt uses more of a pendulum motion from the shoulder with help from the legs and typically less wrist rotation. The disc often rises on a gentle arc and arrives softly.
The tradeoff is that height and wind can influence it more, and the player may need extra lower-body drive as distance grows.
Most real putts are hybrids. A player may use a push-dominant motion close to the basket, add controlled spin outside the comfort range and still preserve the same setup and finish.
Choose the blend that produces the smallest collection of misses—not the label that sounds best.
| Style | Primary motion | Common strength | Watch for |
|---|---|---|---|
| Spin | Wrist and forearm with a direct line | Pace, range and flatter flight | Long comeback putts after a fast miss |
| Push | Pendulum arm swing with legs | Soft arrival and simple vertical rhythm | Early drop or excess loft in wind |
| Hybrid | Leg drive plus controlled wrist action | Adaptable range without a complete form change | Adding too many moving parts under pressure |
A six-part putting sequence
A dependable routine can be short without being rushed. Use the same order for a five-foot putt and a thirty-foot putt so distance changes the amount of energy, not the identity of the motion.
Read — Confirm the lie, wind, slope, obstacles and the safest miss.
Set — Establish a legal stance and settle the feet before raising the disc.
Aim — Choose a specific chain link or height window instead of aiming at the entire basket.
Load — Shift into the legs and let the disc move to the same starting position.
Release — Send the hand through the chosen line with the nose and height already decided.
Hold — Freeze the finish long enough to see whether balance and hand direction matched the plan.
Add Circle 2 distance without abandoning the motion
When a putt reaches the edge of comfortable range, add energy from the ground first. A slightly deeper knee and hip load, a longer but still controlled arm swing or a little more wrist speed can extend the same line.
Changing stance, grip, aim, nose angle and release height all at once makes the miss difficult to diagnose.
Choose the attempt according to the next shot. On flat ground with a safe backdrop, a committed run may be sensible.
Near a slope, water or out-of-bounds, a soft bid or intentional layup may save more strokes over time. Circle 2 putting is partly distance control and partly course management.
A step or jump putt should be learned only after the stationary release is repeatable. The disc must leave the hand before any supporting point contacts the ground closer to the target than the lie.
Film from the side when practicing so timing can be checked instead of guessed.
Choose a putter by release quality, then assign the approach job
For putting, begin with feel. Compare shallow and deep profiles, beadless and beaded rims, firm and soft plastics and how the disc sits against the index finger.
A putter that releases cleanly and feels trustworthy in weather is usually more valuable than a theoretical flight-number advantage at short range.
An approach disc may serve a different job. Premium plastic, added stability or a lower-profile rim can help with forehands, wind, skips and controlled landings.
You do not have to use the same mold for every throw inside 200 feet, and you do not need a large collection before the roles are clear.
The live BlueJayDG rack shows the exact disc, current price and condition. Compare available putters and approach discs by the job they will perform, then return to the 15-minute routine to make the selected putting putter familiar.
Compare exact photos, price, condition and flight numbers in the live inventory—or join the Flight List for new drops and field notes.